Assessing DIY Feasibility for Garden Fence Installation
Time, Skill, and Tool Requirements for First-Time Garden Fence Installers
Taking on a garden fence project as a first-timer can be both rewarding and demanding. A typical 100-foot fence often requires two to three full weekends—spanning planning, post installation, and panel assembly. Beginners frequently underestimate the physical effort of digging post holes in compacted or rocky soil. Essential tools include a post hole digger or auger, a level, string line, circular saw, power drill, wheelbarrow, and concrete mixing equipment. You’ll also need comfort with precise measurement and leveling; misjudging post depth or alignment can cause sagging panels or gate binding over time.
While online tutorials make core techniques accessible, the learning curve remains steep—and the cost of renting specialized gear (e.g., a gas-powered auger) can approach $200, eroding the financial benefit of DIY. Without prior experience, poor installation is a real risk. Careful planning and realistic expectations are essential to avoid rework, wasted materials, and compromised durability.
Site-Specific Barriers: Slope, Soil Type, and Obstacles That Compromise DIY Success
Your yard’s physical conditions significantly influence whether a DIY garden fence installation will succeed. Sloped terrain demands either stepped or racked panels—both requiring exact measurements and careful alignment. Even minor mismeasurements on a grade can create unsightly gaps or unstable posts. Soil composition further complicates matters: sandy soil drains well but offers weak support without proper concrete footings; clay shifts with moisture, risking post heave; and rocky soil may require a breaker bar—or even a jackhammer—to penetrate.
Hidden obstacles like tree roots, underground utility lines, or old concrete footings add another layer of complexity. Always contact your local utility locator service before digging—a step some first-timers skip, risking safety and costly repairs. Drainage issues near gates or garden edges can also erode foundations if unaddressed. When multiple site-specific challenges converge, the likelihood of a durable, code-compliant DIY outcome drops sharply. Recognizing these barriers early helps you decide whether to invest in professional support—or proceed with targeted preparation and contingency planning.
Top 3 Garden Fence Installation Mistakes Homeowners Make
Improper Post Setting: How Depth, Concrete Curing, and Alignment Affect Longevity
The foundation of your garden fence begins below ground—and errors here compromise structural integrity from day one. Common missteps include:
- Insufficient Depth: Standard garden fence posts require a minimum 24-inch embedment in stable soil. Corner and gate posts need 30+ inches to resist leverage forces. Shallow installations fail prematurely during freeze-thaw cycles or high winds.
- Rushed Concrete Curing: Footings need a full 7 days to cure before attaching panels or gates. Premature loading causes microfractures and instability—especially in cold weather, where curing slows below 40°F.
- Poor Alignment: Small deviations compound across sections. Use string lines and levels during setting—not just after—to prevent visible waves, uneven gaps, and gate binding.
These shortcuts reduce fence lifespan by 50% or more and increase repair frequency threefold, per structural assessments from the American Wood Protection Association and independent building inspectors.
Ignoring Legal Requirements: Permits, Property Lines, and HOA Rules for Garden Fence Projects
Overlooking legal and regulatory requirements transforms a DIY garden fence project into a costly liability. Key oversights include:
- Missing Permits: Most municipalities require permits for fences taller than 6 feet. Unpermitted work risks fines—or mandatory removal.
- Property Line Encroachment: Installing even slightly over your boundary invites neighbor disputes or legal action requiring demolition. When boundaries are unclear, a professional survey is strongly advised.
- HOA Violations: Many neighborhoods regulate fence height, material, color, and style. Non-compliant installations may incur daily penalties until corrected.
According to the National Association of Home Builders’ 2023 Compliance Report, nearly 20% of emergency fence removals stem from ignored zoning, survey, or HOA requirements.
Choosing the Right Garden Fence Material for DIY Success
Material Comparison: Pressure-Treated Wood, Vinyl, Metal, and Composite — Ease of Handling and Assembly
Selecting the right material directly affects installation smoothness, tool needs, and long-term performance. Each option presents distinct trade-offs in weight, cuttability, and assembly complexity. The table below highlights key considerations for first-time installers.
| Material | Ease of Handling & Assembly | Key DIY Considerations |
|---|---|---|
| Pressure-Treated Wood | Moderate | Heavy but easy to cut and fasten with standard tools; requires precise post-setting and full concrete curing before panel attachment. |
| Vinyl | High | Lightweight pre-assembled panels click or slide together; demands careful alignment and a level surface to avoid buckling or gapping. |
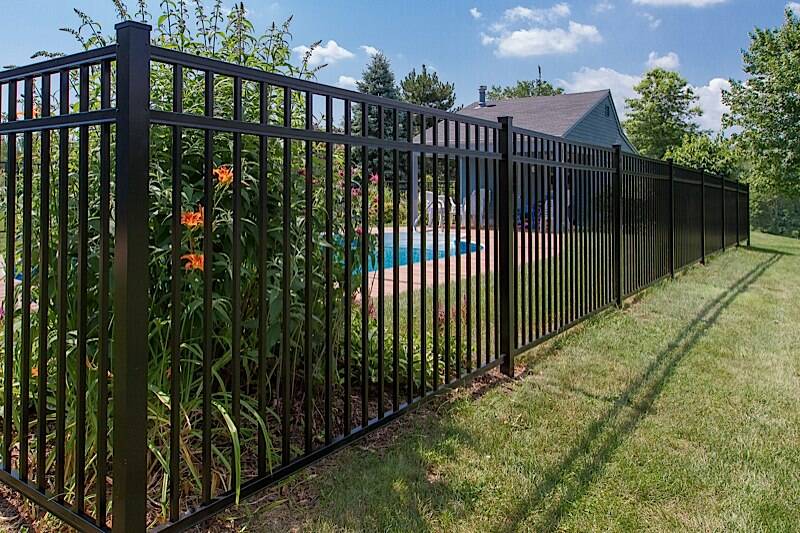
| Metal (e.g., aluminum) | Moderate | Pre-fabricated sections are light and corrosion-resistant; often requires metal-cutting blades and specialty brackets for secure mounting. |
| Composite | Low | Dense, heavyweight boards limit trimming options and require reinforced posts and proprietary fasteners; minimal maintenance offsets higher upfront labor intensity. |
For most homeowners, pressure-treated wood offers the best balance of affordability, tool compatibility, and forgiveness during learning. Vinyl delivers low-maintenance aesthetics with simplified assembly—but less tolerance for suboptimal grading or alignment.
Proven Strategies to Simplify Garden Fence Installation
A smooth garden fence installation begins long before you dig the first hole. Start with a thorough site assessment: clear the fence line of rocks, roots, and debris to prevent alignment issues later. Use stakes and string—or a laser level—to mark straight, consistent lines, even across uneven terrain. This step reveals slopes and hidden obstacles early, letting you adjust post placement proactively instead of reacting mid-project.
Opt for pre-made fence panels when possible: they reduce on-site cutting, minimize waste, and speed up assembly. For sloped yards, stepped panels maintain visual consistency and structural stability better than poorly racked alternatives. On compacted or rocky soil, consider no-dig solutions like metal T-posts paired with plastic mesh or chicken wire—ideal for seasonal boundaries or temporary garden delineation. These lightweight systems eliminate concrete curing time and simplify adjustments.
Finally, verify post depth, plumb, and spacing before pouring concrete. Precise preparation saves hours of rework—and significantly extends your fence’s service life.
FAQ
How long does it take to install a garden fence as a beginner?
For a typical 100-foot fence, first-time DIYers can expect to spend two to three full weekends for planning, post installation, and panel assembly.
What tools are essential for DIY garden fence installation?
Basic tools include a post hole digger or auger, level, string line, circular saw, power drill, wheelbarrow, and concrete mixing equipment.
What challenges do sloped yards present in fence installation?
Sloped terrain often requires stepped or racked panels, which demand precise measurements and alignment to avoid gaps or instability.
Do I need a permit to install a garden fence?
Most municipalities require permits for fences taller than 6 feet. It’s advisable to check local regulations before starting your project.
Which material is best for first-time DIY fence installers?
Pressure-treated wood offers an excellent balance of affordability, tool compatibility, and ease of learning for beginners.