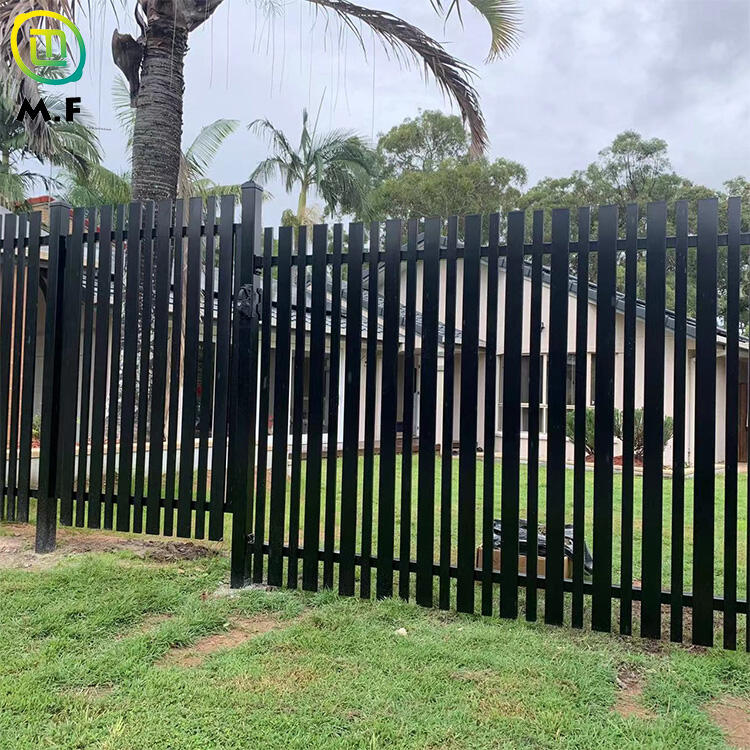
One-Stop Fencing Solution Provider Covering Aluminum Fence & More
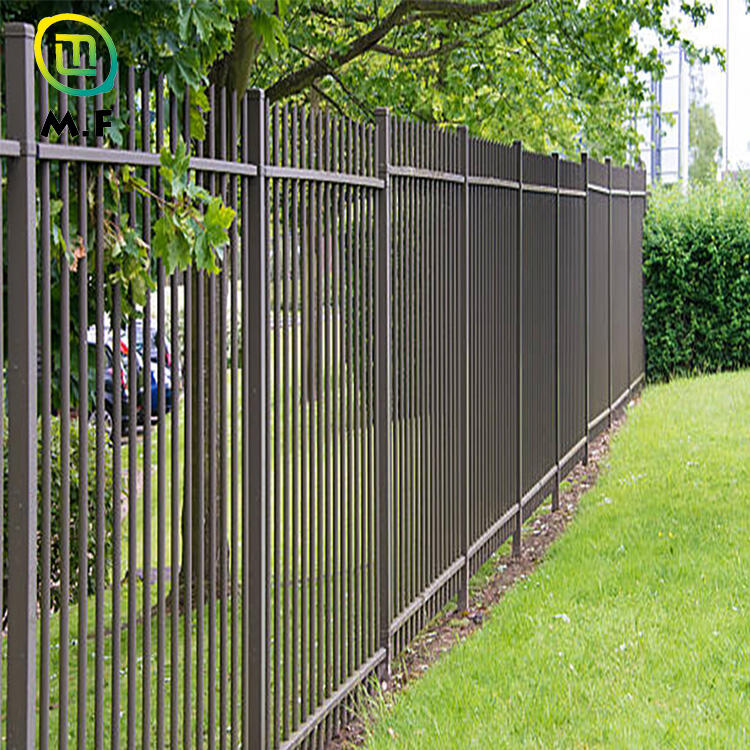
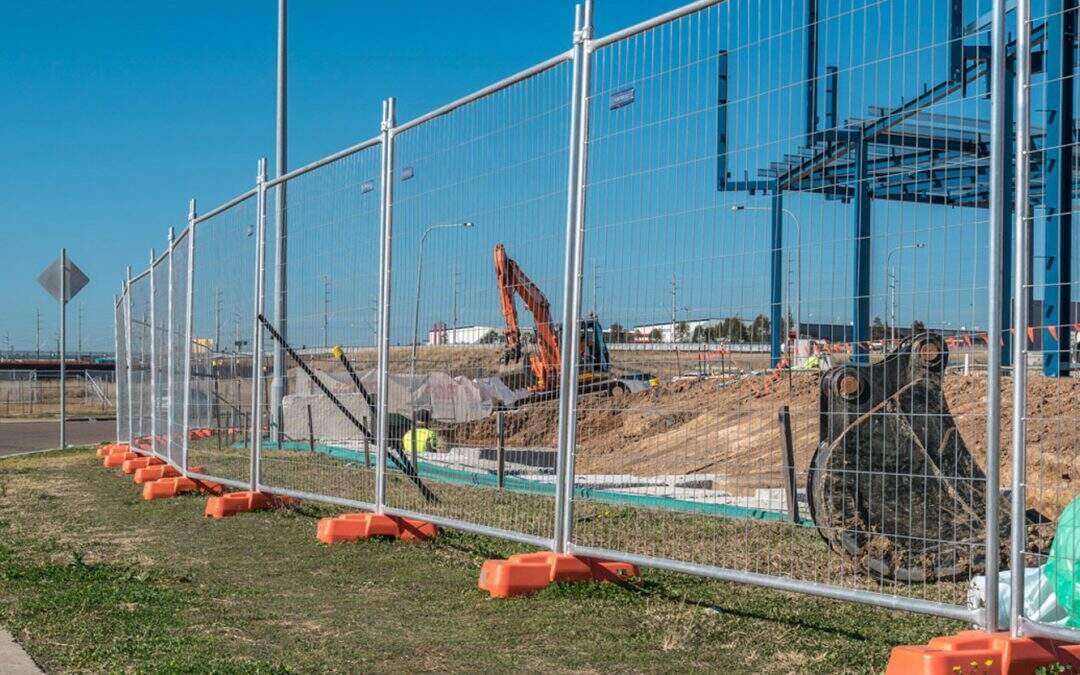
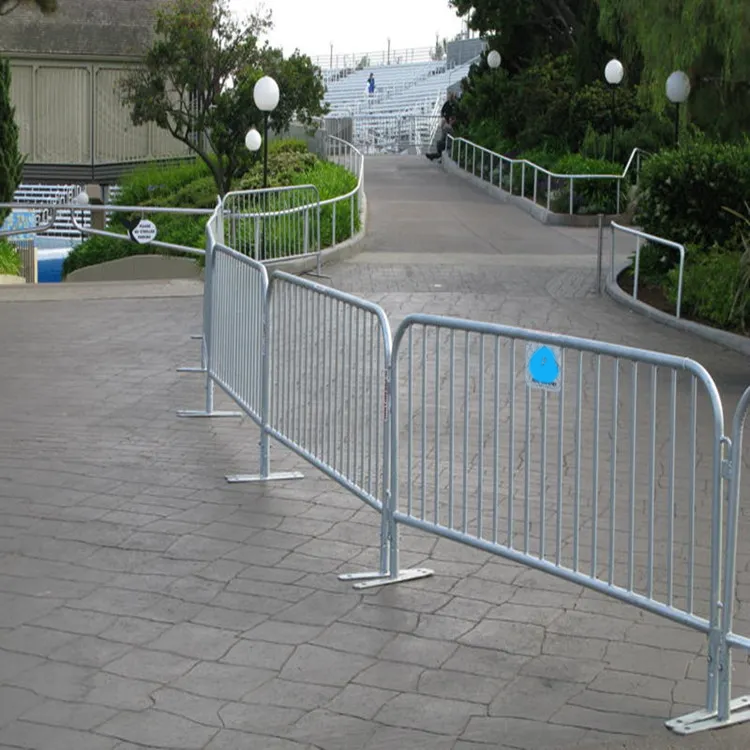
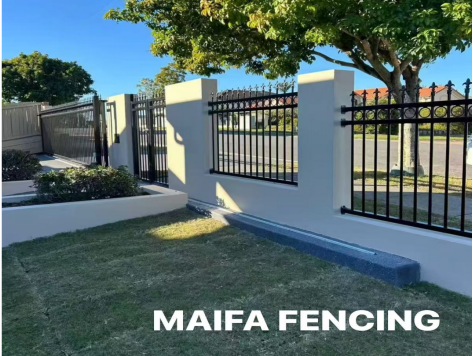
As a one-stop fencing solution provider, focus extends beyond aluminum fence production to offer a full range of supporting services and related products. For customers buying aluminum fence, personalized solutions can be provided based on specific application scenarios (residential yards, commercial properties, security areas), including design, size customization, installation guidance, and after-sales support. Main products also include steel fence, temporary fence, chain link fence, and other wire mesh products. Customers with multiple fencing needs can purchase all required products in one stop, avoiding the trouble of cooperating with multiple suppliers. This model simplifies procurement, saves time and costs, and ensures consistent product quality and service standards across different fencing products, including aluminum fence.